


SaaS stands for Software as a Service. Instead of the traditional license model, people subscribe to a service. It is usually available online and updated automatically.
Last week-end, I spent some time working on a new project. In this post, I’ll go through the main steps from an idea to a completed project that people can subscribe to!
The idea
The project I chose is an API to create PDF invoices. I had this idea after developing an invoice generator for a client and realizing that this can probably be generalized. This could prove useful for developers, because it’s an API, but also for no-code users. I have wanted to submit an app to Zapier for some time, so this was an opportunity.
The other advantage of this process is that the MVP can be implemented in a couple of days, which will help validate the market before investing too much time developing.
First step: serverless PDF generation
As all my side-projects, I wanted to deploy this project to Vercel. This was also a perfect candidate for the Hashnode Hackathon Powered by Vercel. However, generating PDF with serverless Node.js wasn’t as straightforward as expected.
Although there are several modules that will generate PDFs, I wanted something based on an HTML template, to keep customization easy. In the end, I had two options:
- Packages based on Phantomjs, which are quite old because the Phantomjs project development has been paused;
- Packages based on Chromium, which are actively maintained but are not suitable for serverless (Chromium is a large binary and you should keep it running instead of starting it for each request).
In the end, I picked html-pdf, which is quite popular and does what I need, event though it hasn’t been updated since 3 years. The API doesn’t support promises so I wrote a small wrapper:
const generatePdf = (html, options) =>
  new Promise((resolve, reject) =>
    pdf.create(html, options).toBuffer((err, res) => {
      if (err) {
        reject(err);
      } else {
        resolve(res);
      }
    })
  );
Next.js has the ability to create API endpoints by putting the code in the pages/api folder. This wrapper can be called directly (and awaited) from the body of such a page.
Running html-pdf on Vercel went quite well. It seems like some work has been done on Vercel’s side to recognize Phantomjs’ binary and keep it bundled in the final function package. I only had to set the path to this binary file. This is the option object I am passing to pdf.create:
const options = {
  format: "A4",
  phantomPath: path.resolve(
    process.cwd(),
    "node_modules/phantomjs-prebuilt/lib/phantom/bin/phantomjs"
  ),
};
The final serverless function is 27.91 MB. That’s quite large, but still acceptable, and should only impact the speed of cold-startups.

To ease with invoice customization, I used a templating system called Mustache, and more specifically its JavaScript implementation mustache.js. Mustache takes an HTML template and variables values as an input. It outputs a processed HTML that can be fed directly to html-pdf.
A neat tip was to import the HTML template using Webpack’s html-loader to bundle it with the function. Reading the file at runtime would be slower but also doesn’t work at all because the file will be stripped from the final package at build time (Webpack does not know that the template will be needed).
Add html-loader as a dependency:
yarn add html-loader
Then add this custom Webpack config to next.config.js:
module.exports = {
  webpack: (config, options) => {
    config.module.rules.push({
      test: /\.html/,
      loader: "html-loader",
    });

    return config;
  },
};
Then in your API page, you are able to use:
import template from "templates/invoice.html";
Data storage
There are many data store options available when designing a serverless app. I don’t think that any of them can be considered as an universal solution, so the decision will always be though. AWS has a few options (DynamoDB for no-SQL, RDS for relational) and there are also some API-based services available (Lambda Store, Firebase Cloud Firestore, Supabase…). They all have specific features ranging from simple key-value to sophisticated query and data synchronization.
For this project, I chose to keep everything in AWS S3.
I’ll keep generated PDF files in a S3 bucket to be able to generate public links to them.
Also, I’ll keep some JSON files in a dedicated bucket to store invoice metadata and customers. For this simple use-case, S3 is perfectly fine. It is quick to setup, has great response times from any AWS region and most test projects should stay within the free-tier.
For example, here is how I store data when a new customer is created:
// Sample Data
const data = {
  id: "dbf3c311-c78d-45bb-b15d-cc4583a5b6b9",
  email: "sample@apuyou.io",
};

await s3
  .upload({
    Bucket: "prod-justin-metadata",
    Key: `${data.id}/_account.json`,
    ContentType: "application/json",
    Body: JSON.stringify(data),
  })
  .promise();
I can then retrieve customers when they send a request by looking up their API key.
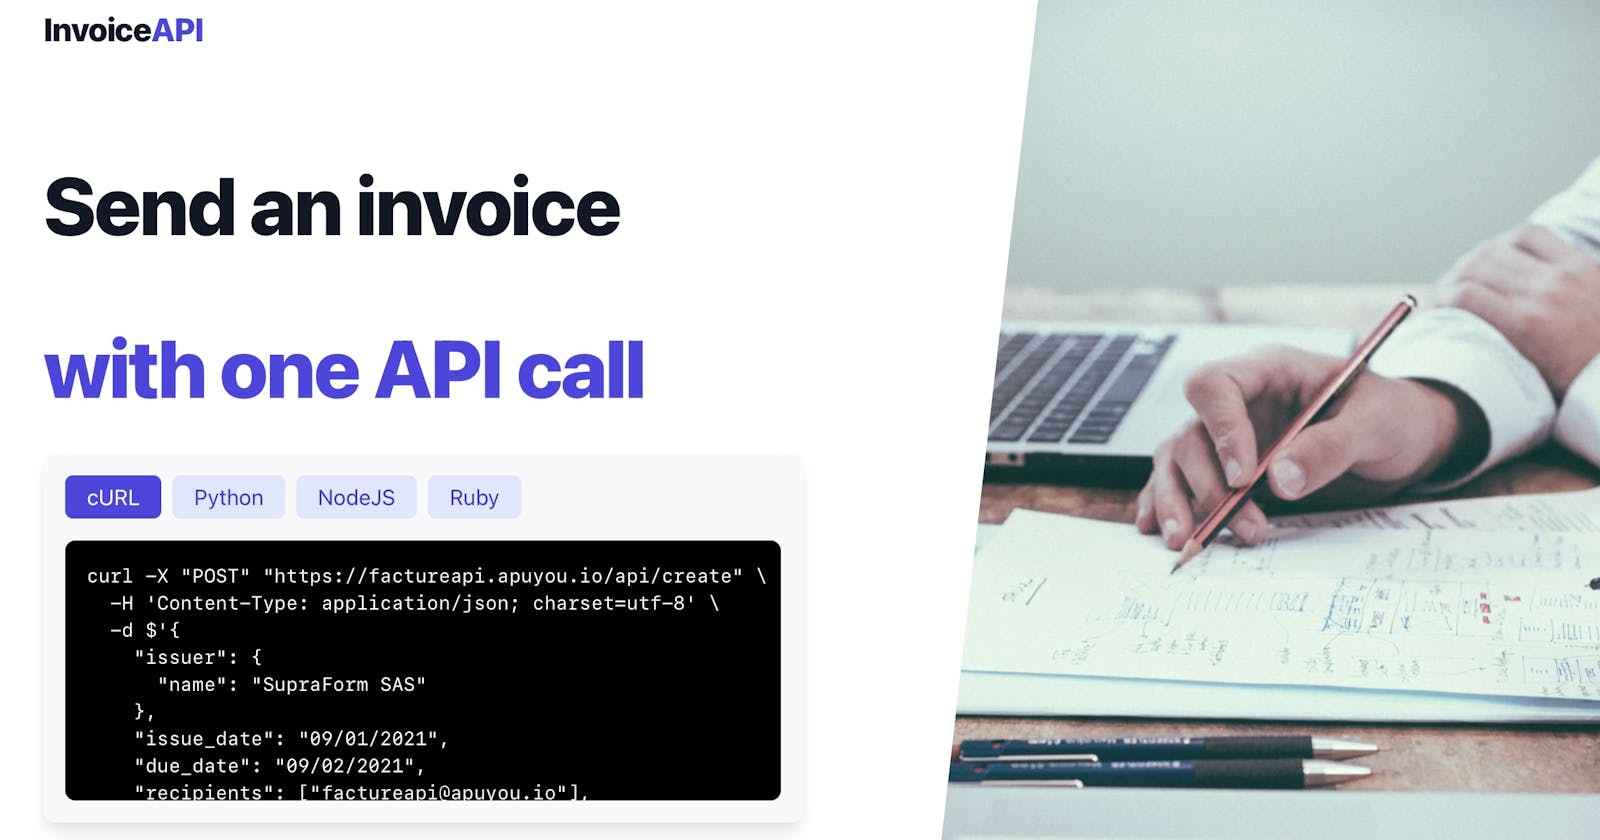
Landing Page
Once you are done with the product itself, you need an introduction for people that discover it. You can find tons of landing pages available from scratch online, however I like to keep the same stack as the rest of the project.
Here, I had planned on using Tailwind for the future dashboard (where customers can find the list of invoices they have generated). Tailwind is a recent CSS framework, which is based on utility classes that you combine to create what you need.
Usage with Next.js is the same as with other frameworks (we just need to use className instead of class). Tailwind comes with custom build tools, which avoid shipping all the CSS classes that you don’t use. This requires a few additional setup steps, but there are specific installation instructions provided for Next.js.
Also, TailwindUI is a package of UI components by Tailwind’s creators. It has many useful ready-made components that you can use directly for your landing page (you’ll se that mine uses them heavily!).
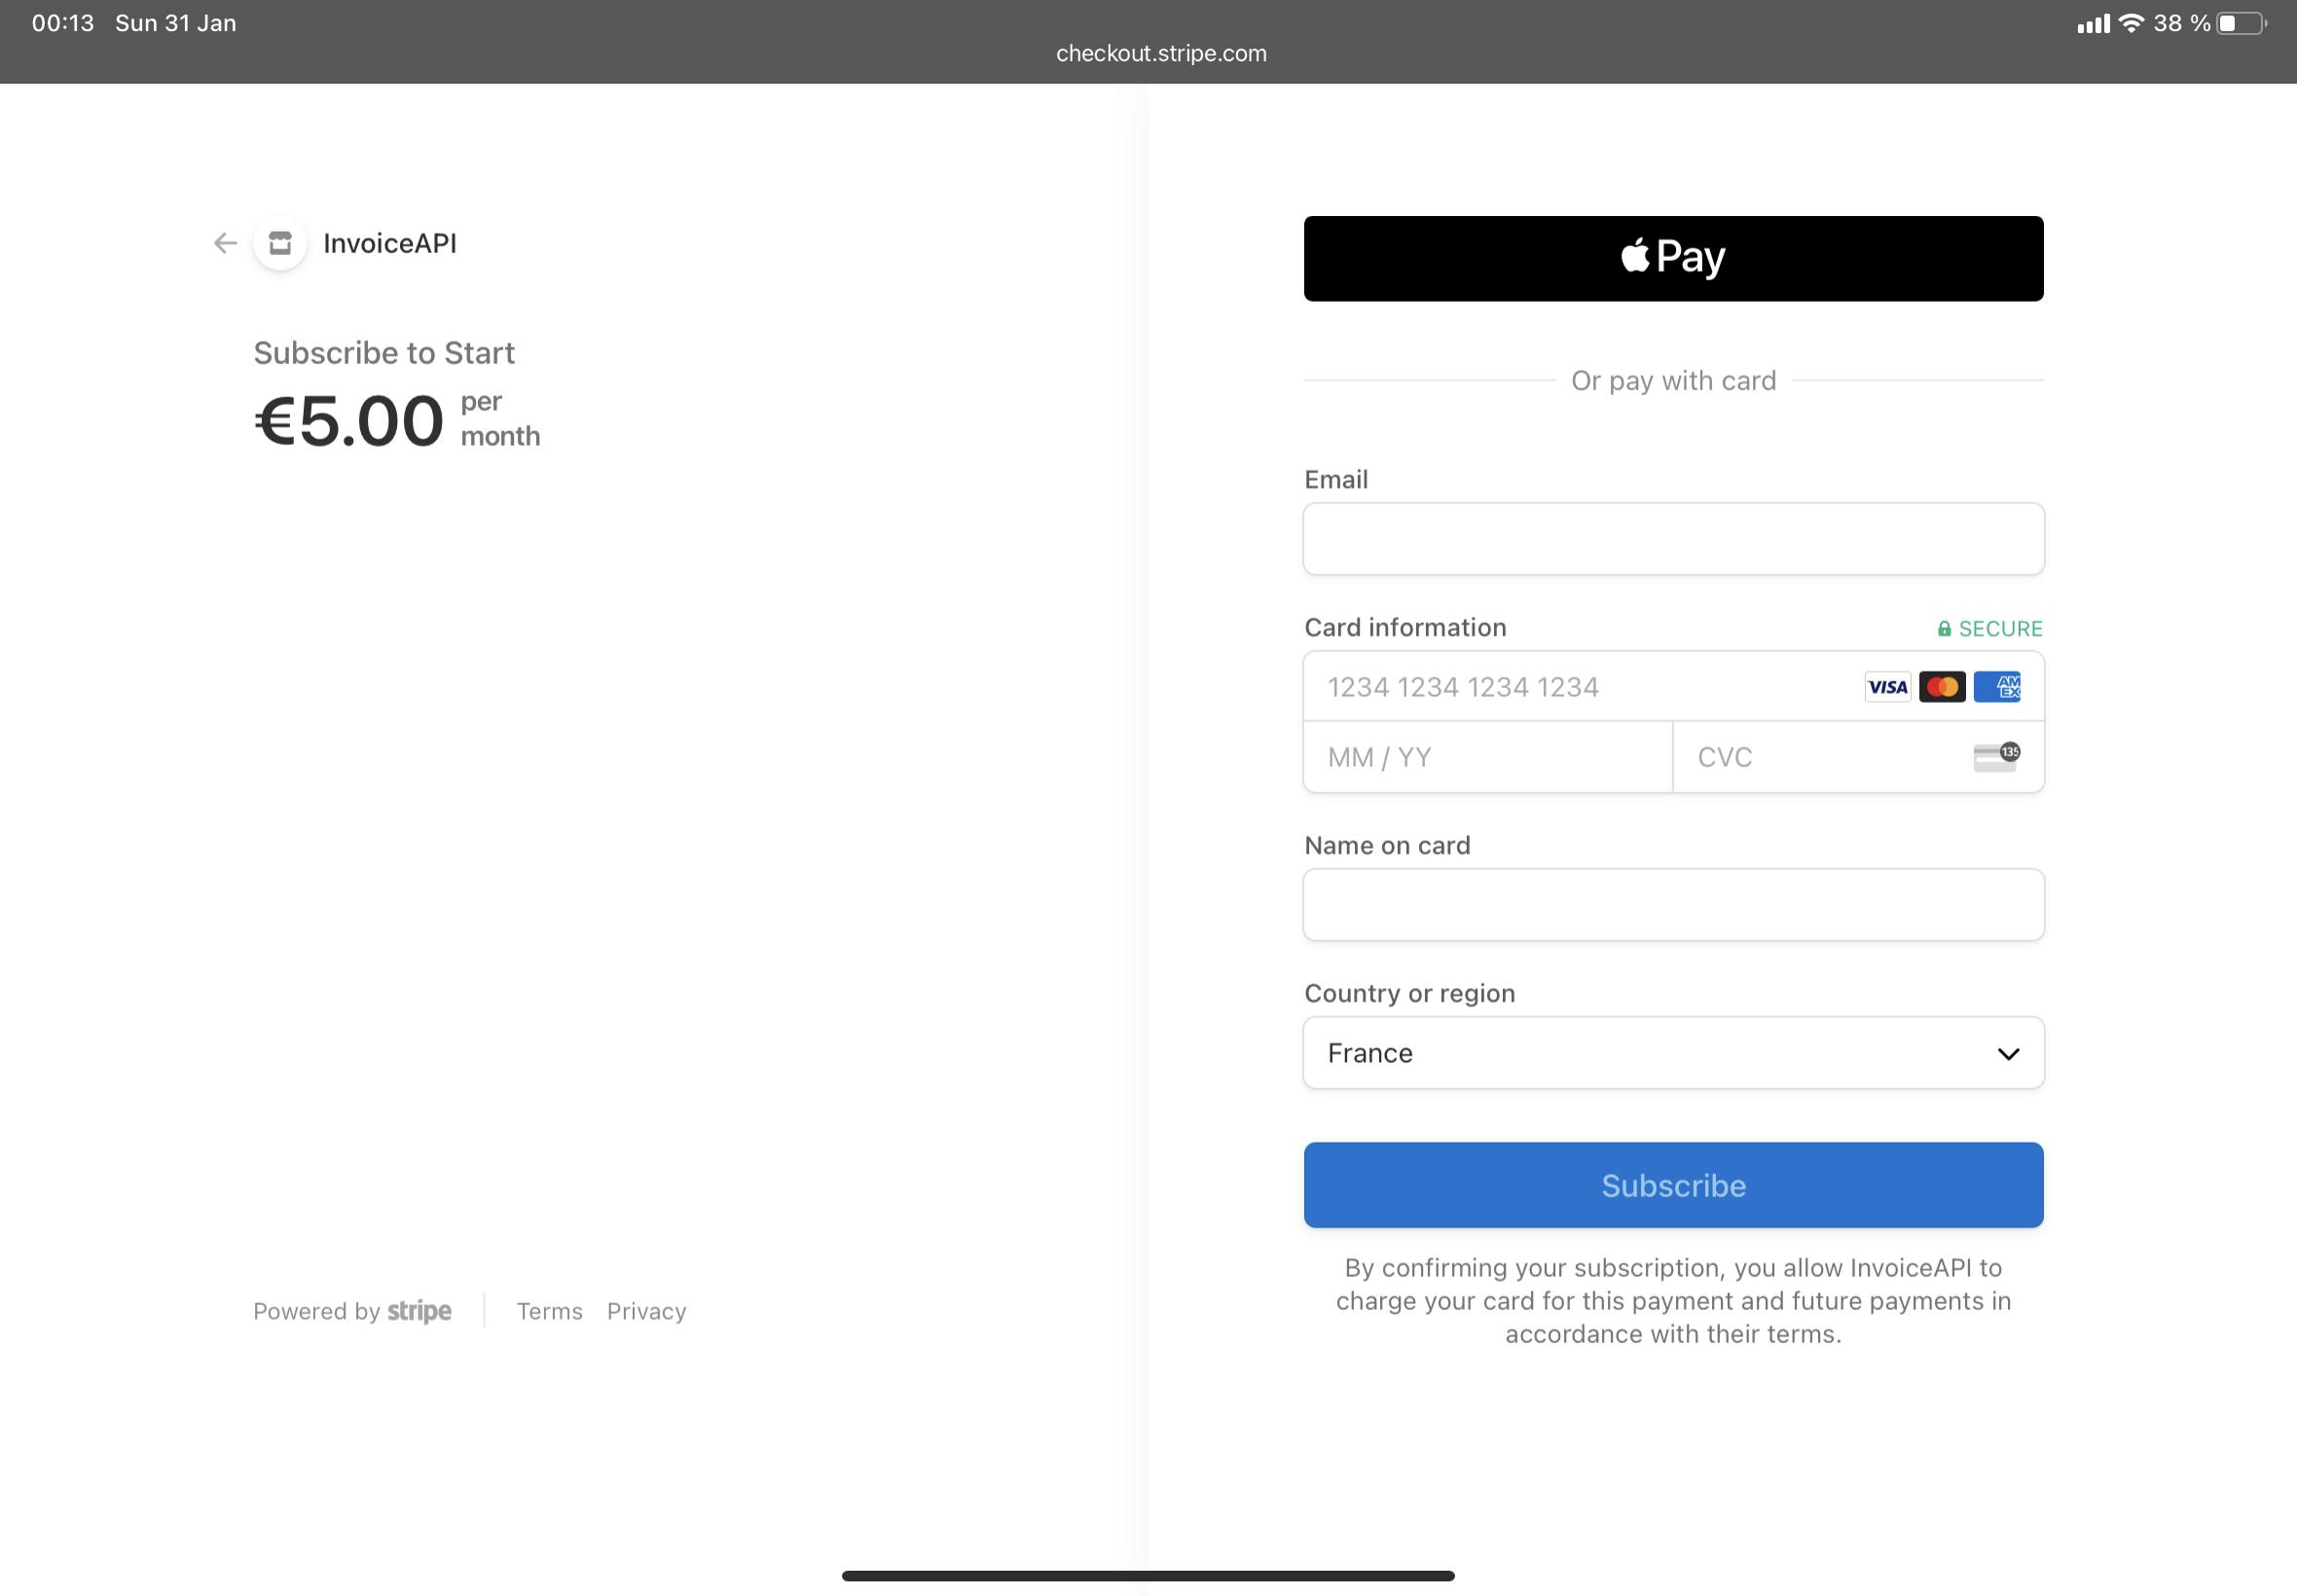
Subscription
Finally, because the objective is to sell our software, we need to add a subscription system. Stripe is probably the most well-known provider here. It is very much appreciated by developers thanks to its amazing docs and ease-of-setup.
Stripe has two products that will be of interest in addition to the payment processing service:
- Stripe Billing: this handles the subscription part, that is creating a customer and generating invoices each week/month/year as you need;
- Stripe Checkout: this is a hosted-UI where customers can use their favorite payment method (card, Apple Pay, Google Pay and more).
The great thing with Checkout is that you can redirect customers to it directly from your landing page. You do not need any server code if your prices are fixed. In my case, customers will pick between annual or monthly payment, which maps to two different Prices.
Then, when the payment succeeds, they are redirected back to a static Thank You page. I have configured a Webhook on Stripe’s side, which is called with all the payment’s details. I can then fulfill it by:
- Generating the API key and storing it with customer details in S3;
- Sending this API key to the customer by email (I use SES for emails).
Wrapping Up
We’ve gone through the main steps of this project. As you can see, a couple of days are enough to create your MVP subscription project.
For me, this project was a way to try some new stuff and also have a look at the no-code world.
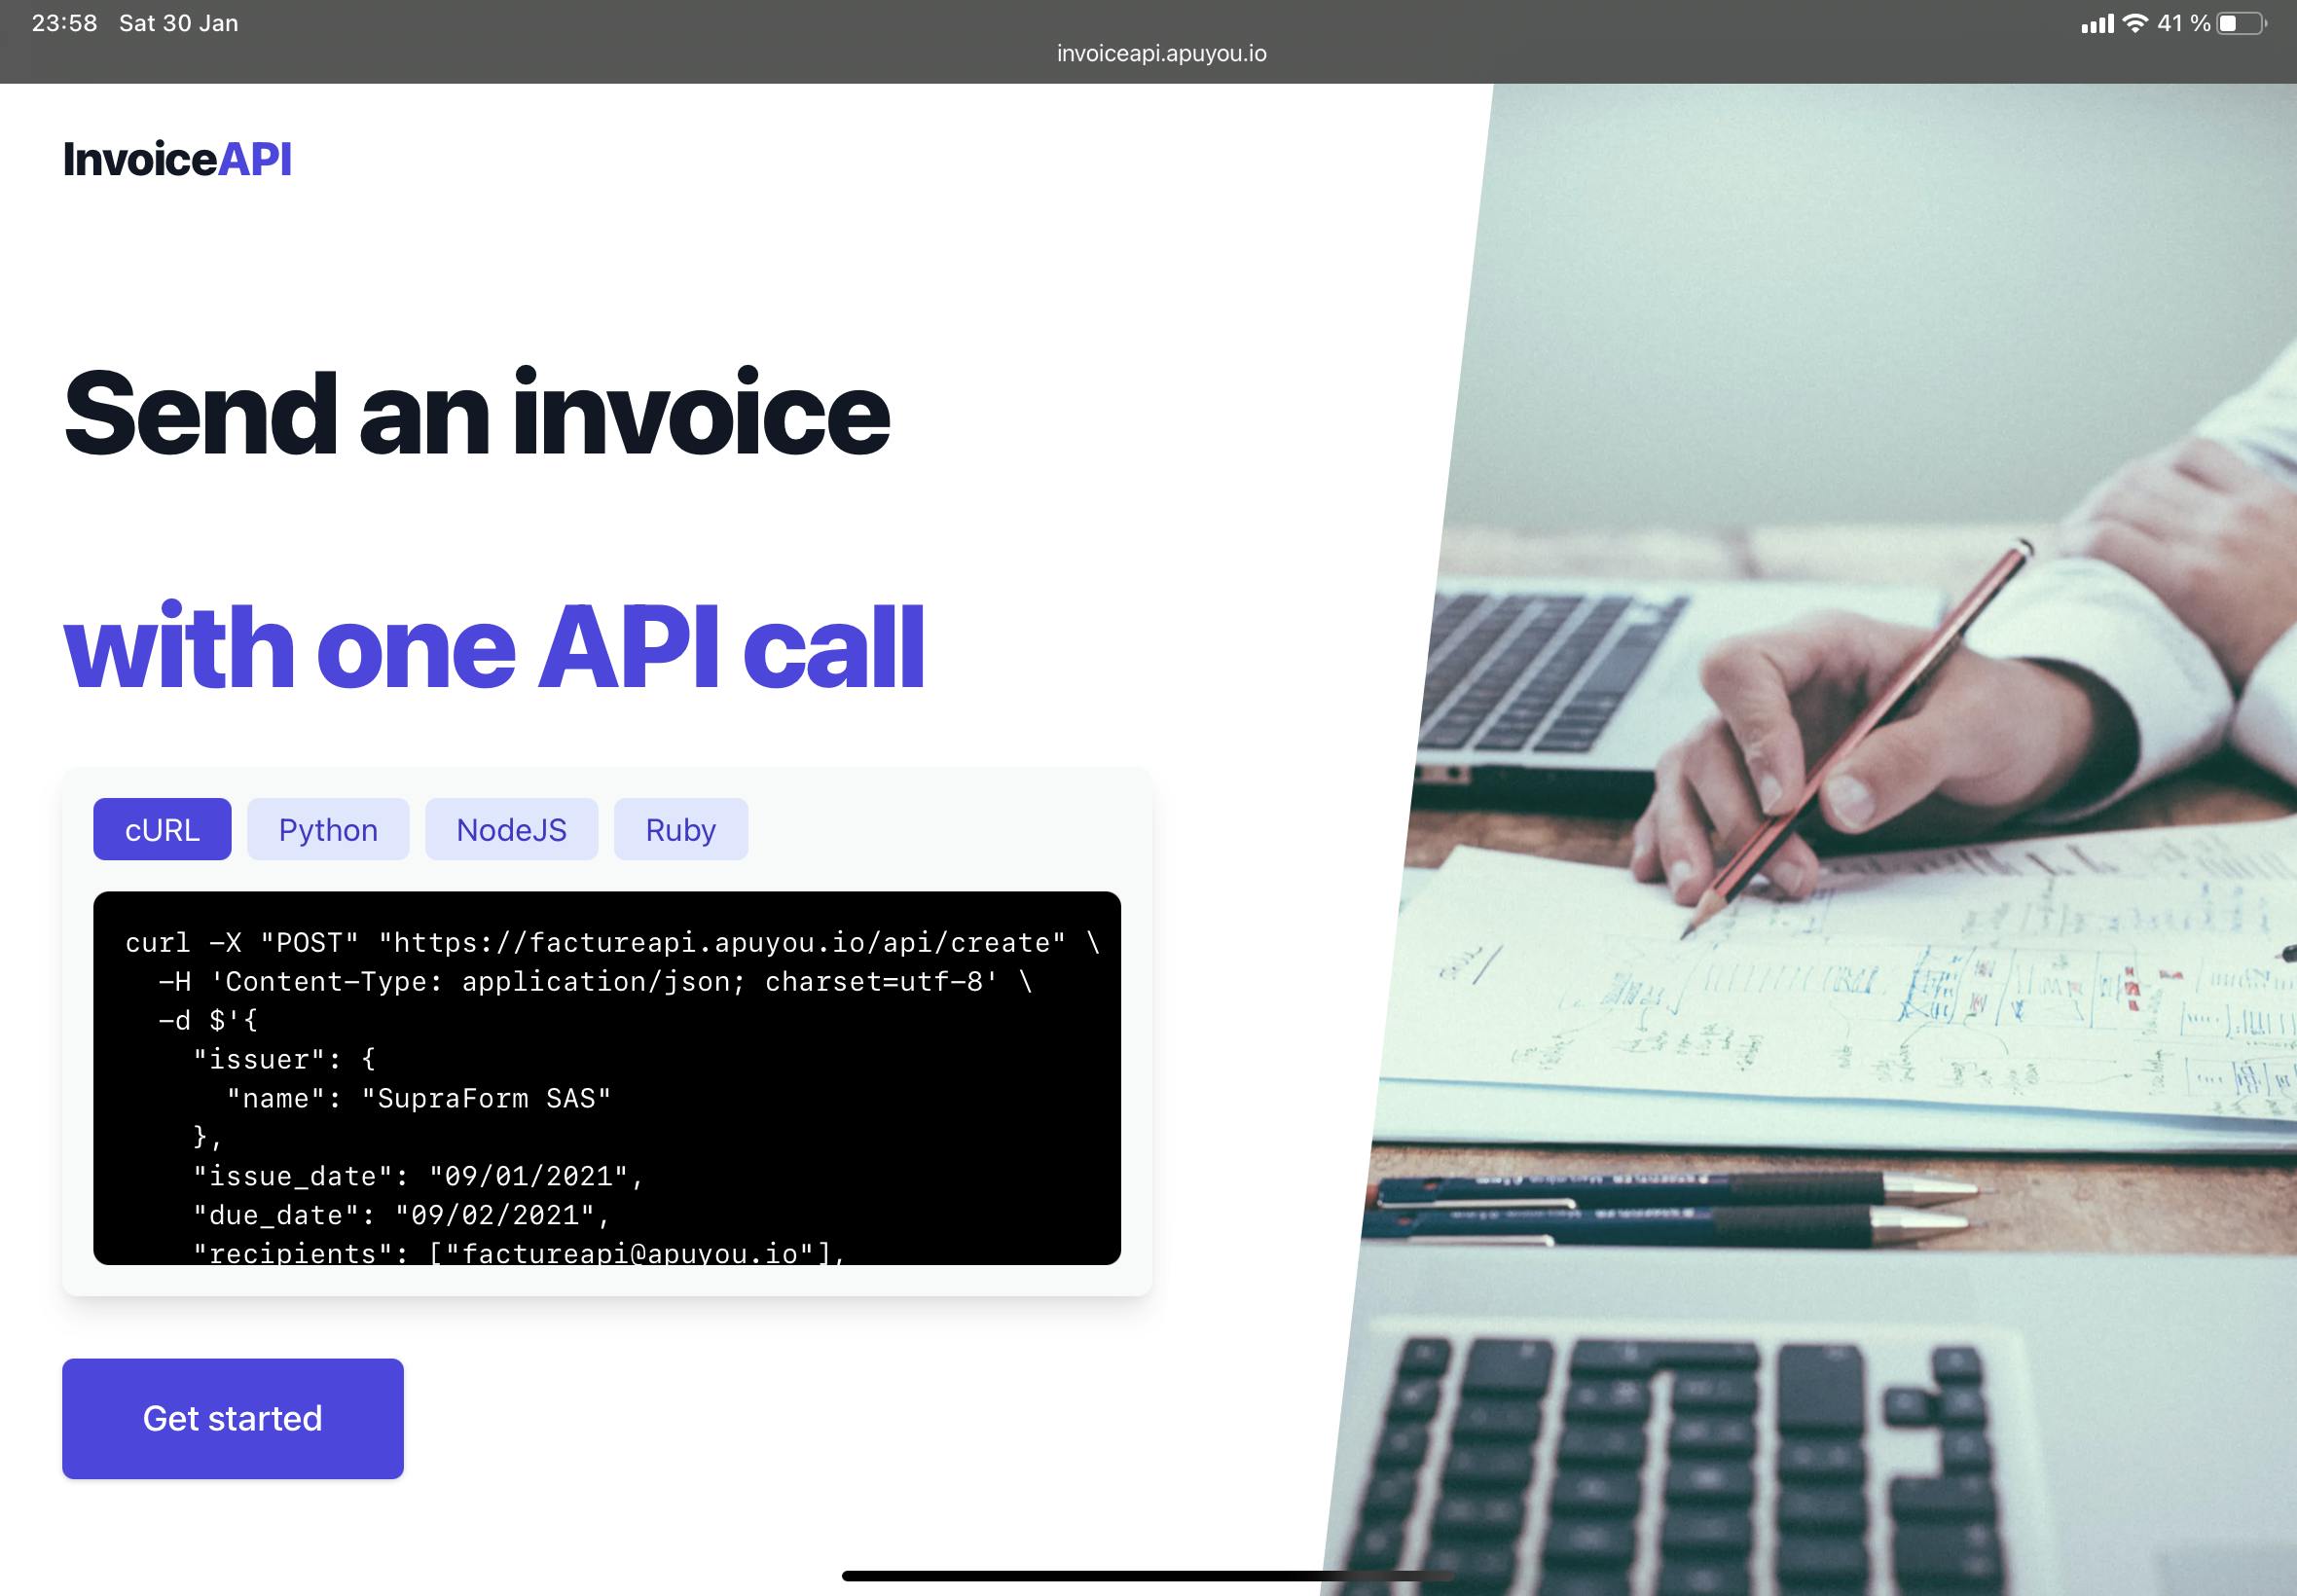
If you want to check it out live, head to https://invoiceapi.apuyou.io. You can play with the API using the demo key if you want 😉
Thanks for reading until here! If you want to share something you’ve made after reading, or have any question, feel free to comment or reach me on Twitter!